Contact info

Contact Nathan for a free estimate
801-602-3356
hamptonbrotherbuilders@gmail.com

Tuesday, July 15, 2014

Tactical Furniture

Built this for a nice lady for her husband's Father's Day present.

It seems like a normal shelf, until..........


.....the foolish home invaders or zombies come. Then you open the secret hatch!


 This particular model is large enough to hold a sub-machine gun and perhaps a small machete


 To keep the secret compartment from falling all the way open, I added the most hyper-masculine chain I could find: chainsaw chain!

Turn a Wall into an Office

With families, especially with kids, it's a good idea to keep the family computer in a busy, public place in your home.  I'm building a home office for a family in my neighborhood. When it is done, it will take up an entire wall in their great room. It will be an excellent combination of computer hardware, books, storage, and art. I think it will really bring the space together. 

Here are the early pictures....


Country Cabin in the City

We'll start with a close look at this fun little cabin in Utah County.

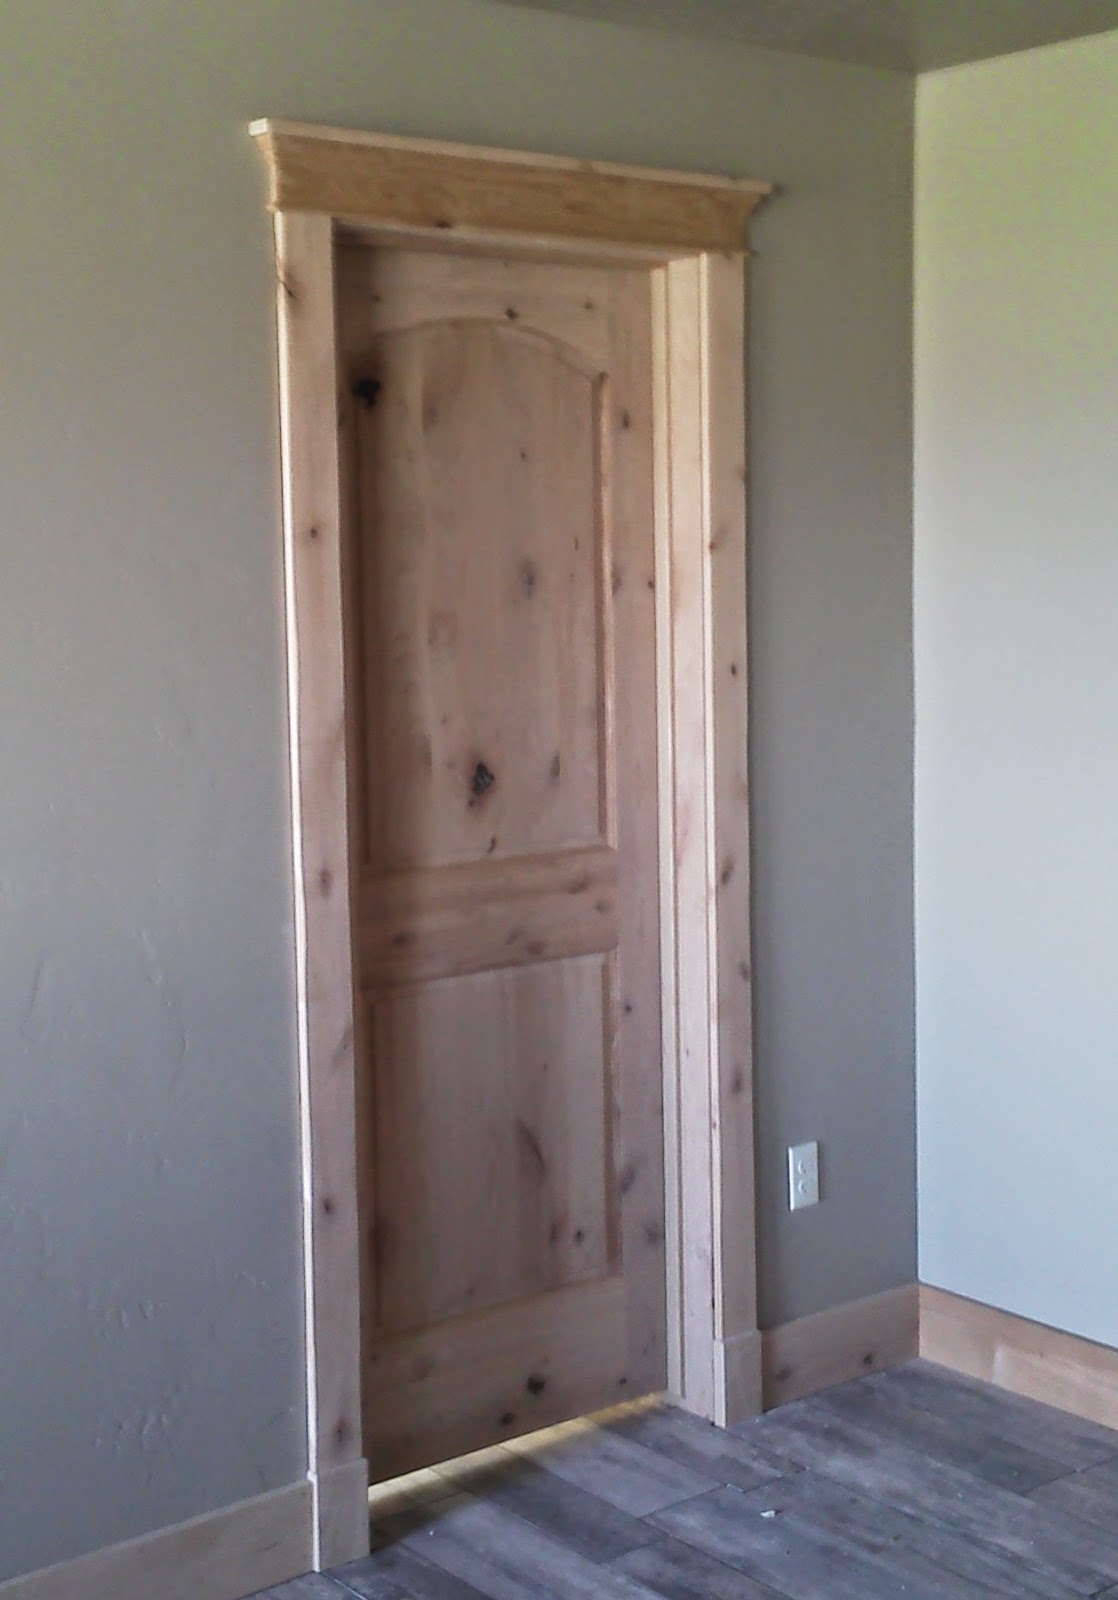
Here is the trim detail for the stain grade doors and windows. It's a little more elegant trim but contrasts nicely with the rustic distressing on the knotty alder. I think it's a good mix.


Solid wood doors are beautiful and you can feel the difference when you close them.


Zooming out, we have some larger views of the inside. In total, there is a living room/kitchen, a loft, one bedroom, and one full bathroom with laundry. There is another half bath that you access outside for camper/guests.


Natural Stone and a wooded setting make this a cozy little getaway right next to the city.


HBB finished the last half of the framing on this project. We also installed windows and doors and did the inside finish carpentry. 


Saturday, July 12, 2014

A Word on Mud Rooms

I have a few ideas about mud rooms.

The first one is locker doors.  I like the idea of lockers to keep all the mud room stuff contained. Lots of people ask me if they should put doors on them. Every time I ask,  "Do you have kids?" Because kids,especially little and medium sized boys, will break the doors off.  When I build lockers I build them with the idea that we can add doors after the boys have grown responsible and less destructive.


My second Mud Room detail is the shoe cubby holes. I like to have the tile on the floor be the bottom of the shoe cubby. Muddy and wet shoes are going in there, we can't stop it. So the bottom should be something that can withstand the moisture. Tile works for that. It's also much easier to sweep them out.


My last Mud Room Detail is the bench. We recently added a bench to our mud room and I love it. Its a convenient place to sit when putting on shoes, and it acts as another place to pile grocery bags on shopping day.


Coffee Tables: The Final Chapter

To finish the coffee tables I needed some helpers... ok, their mom needed fifteen minutes of peace in the house so they came to help me.


There weren't many cool pictures to take of the actual assembly. 
I cut the top out of maple veneer plywood. Then I cut three straight pieces and one bendy piece to build a collar frame around the table. Then I attached the legs. 


Then it was time for Lacquer. I used a nice yellow for the base color.


Then, on top of the yellow, we used a Burnt Umber Glaze.


Finally, since these tables are meant to be used in a family area, we added about eleven coats of clear lacquer. It dries rock hard and makes a good, durable finish.


And delivered to their rightful place...


Friday, July 11, 2014

Coffee Tables Part II: Bending Wood

These Coffee tables go with Round Couches


So, to be a comfortable foot rest, the coffee table must also be round. 
To build straight boards into round coffee tables, we must bend the wood.


The first thing we need is a form that is the exact radius of the finished coffee table.


Second, we cut a thick board into three thin boards. Bent wood has layers.


Then we use lots of glue and lots of clamps. 


Half a pint of glue, and maybe 20 clamps should do it.


Let it sit like that overnight. When it is dry, you can remove the clamps, and the wood is bent.


Use a block plane to clean up the edges, and you're ready to assemble the tables.


Thursday, July 10, 2014

Coffee Tables Part One: Check Out My Legs

This post is the first part of my Coffee Table Project.  

I started with Legs. You can buy legs at Home Depot, but they don't have any nice, chunky ones. 
For my specific leg style, I had to bust out the lathe and turn them myself. 

When I began this, I remembered that I never actually turned anything in woodshop in the early '90s. I just wasted a lot of time talking to my friend while he turned things. But I did remember all the steps.


First glue up a huge chunk of wood. In this case poplar.

Next cut it into an octagon shape so it's more nearly round.

Then load it into the lathe.


Next, get it spinning and start cutting.


Once you get the shape you want, sand it up.
The first one is easy; matching it 7 more times is a little more difficult.


8 legs done, now we can move on to the table tops. 

Wednesday, July 9, 2014

Barn Door in the Bathroom

Sliding Barn Door

Wanted to add a little country charm to this Jack 'n Jill Bathroom. Also, there was not room to swing a door in the tight space. So we solved the problem with this.


Rough sawn wood door with steel barn door track. It even latches for privacy.


Leaning Deck

Ran into an interesting challenge the other day.


The second story of this deck is leaning a bit to the right. Everybody (even me) is a little worried it might tumble to the ground. 


Luckily at Hampton Brother Builders, we can fix anything.... as long as it's made of mostly wood..... and is attached to your house.


We got some straps and some boards and some bolts and we put everything right. 


A quick shout out to my Scout Master. When we put a lot of pressure on a strap or rope, it is important to use real knots. Real knots hold under great pressure and undo easily when you are done. A tangled mess of a knot will usually hold, but you have to cut it after you're done.


And when we're done... everything is plumb, straight, and square again. We even hid the braces in the handrail, so they didn't obstruct the view.